I was given this lamp to use in the nursery, however I hated the color. I am a big believer in reusing items, so I decided to use some coordinating fabric to reuse this lamp.
Here is how it turned out.
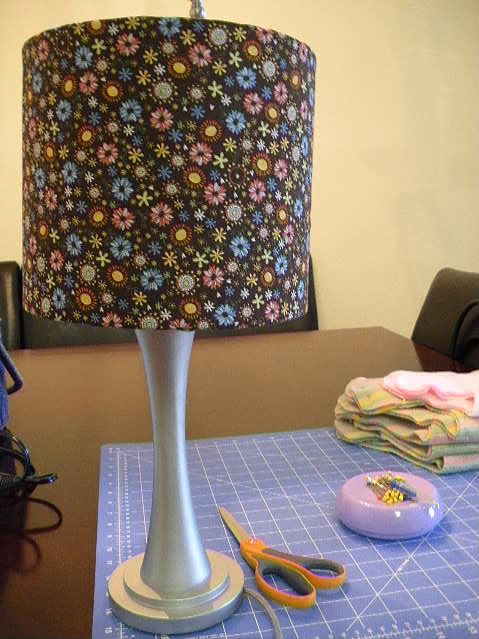
If you want to do it yourself. I have included my own little tutorial below.
What you will need:
1/2 yard of fabric (any cotton will do)
Gorilla Glue
A ruler
Some Scrap Paper
1.Tape together some paper. Make sure that it will fit all the way around the lamp. At first I had 3 peices of paper and then realized I would need 4 pieces taped together.
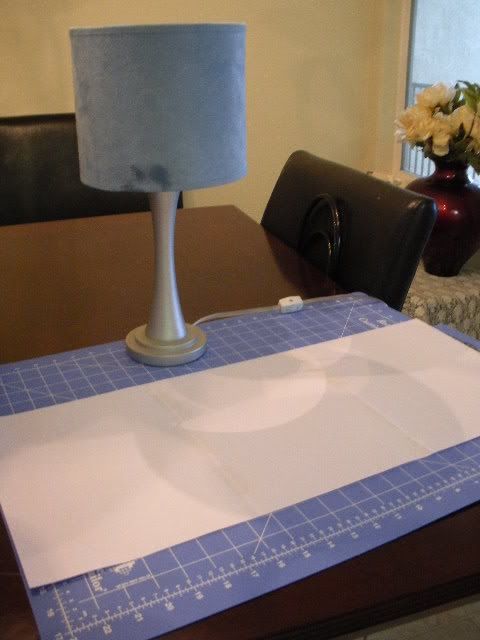
2. Find the start point and mark the lamp and paper. Slowly roll the lamp over the paper and trace the edge. Do not cut out yet!
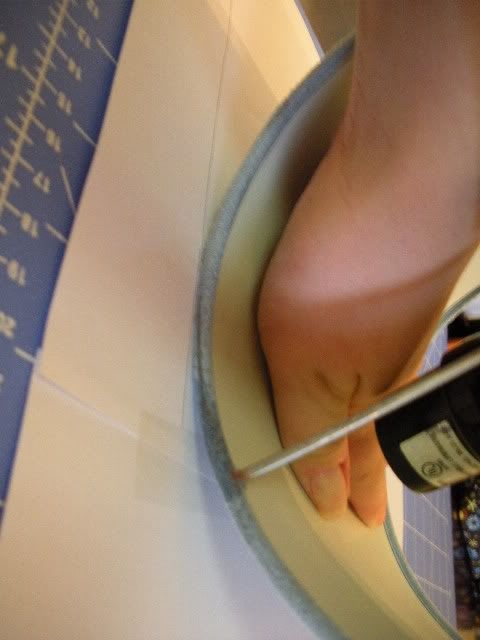
3. Add an extra 1/2"in. to the pattern. This is so you can fold over and glue later on. It will look like this.
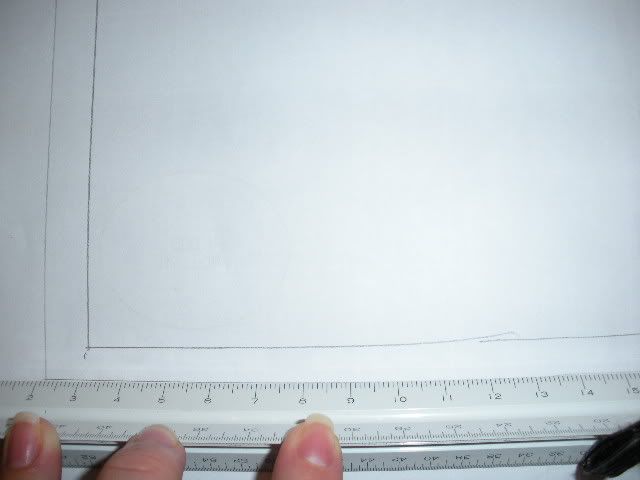
4. Cut out the pattern you just created and fold in half. Fold fabric to create a fold and line folded fabric along the folded end of your pattern. Pin and cut out your fabric.
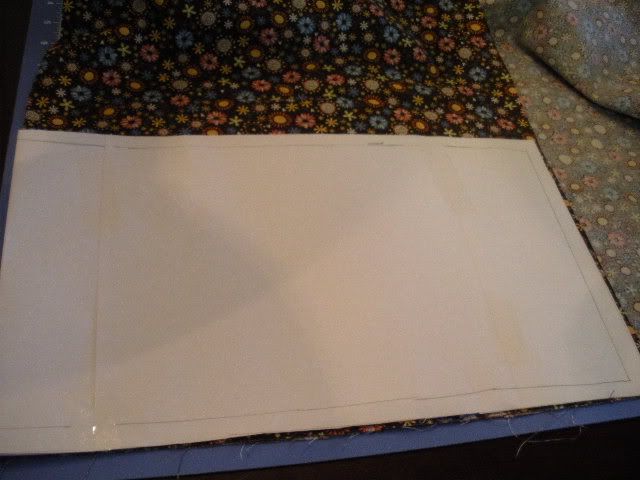 >
>5. Use Gorilla Glue to glue one end of the fabric to the lamp shade.
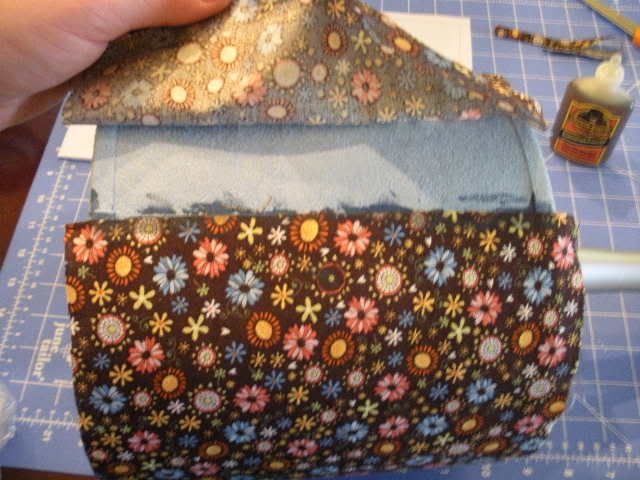
6. On the other end of the fabric glue a fold. Like shown.
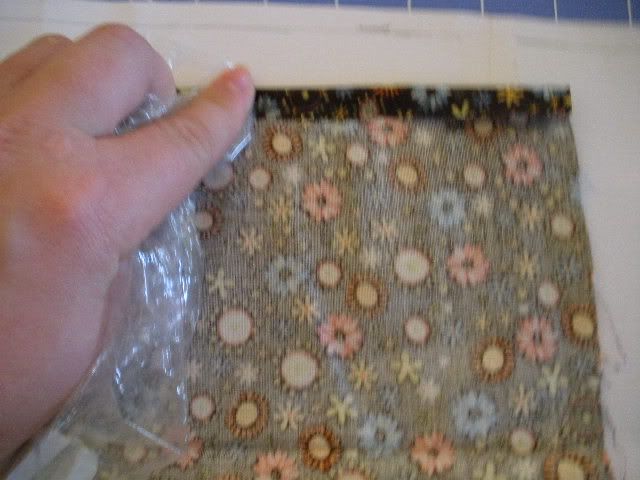
7. Precede to glue the remaining fabric end to the other of the lamp. Pull to make sure there are no wrinkles or kinks.

8. Pin to keep in place.
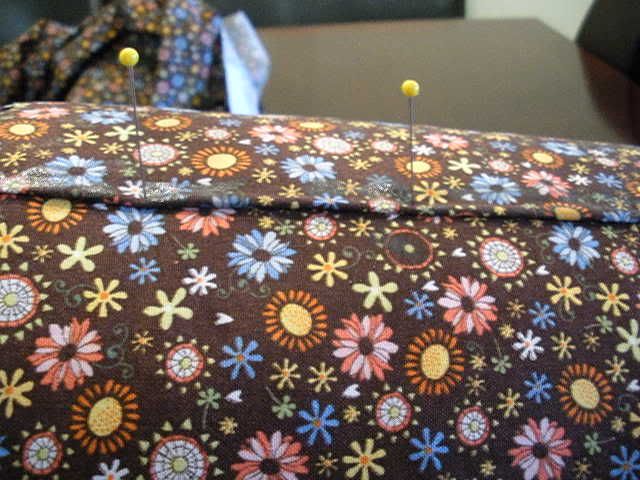
9. Precede to one end of the lamp and start to glue the interior with the remaining fabric edge. Clamp shut to let dry.
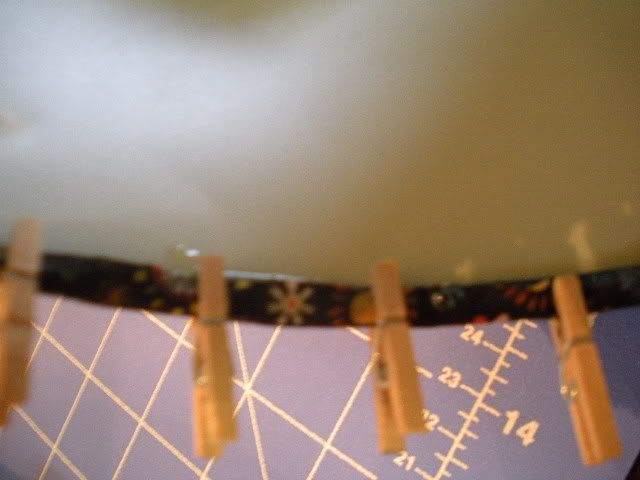
10. Complete both sides and let dry.
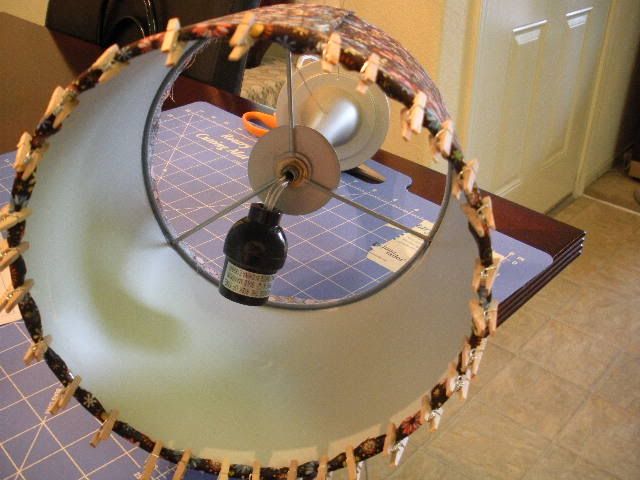
11. Unclamp and enjoy your new lamp cover!


That looks really crisp and clean! great job. I like the spunk the lamp has too!
ReplyDelete